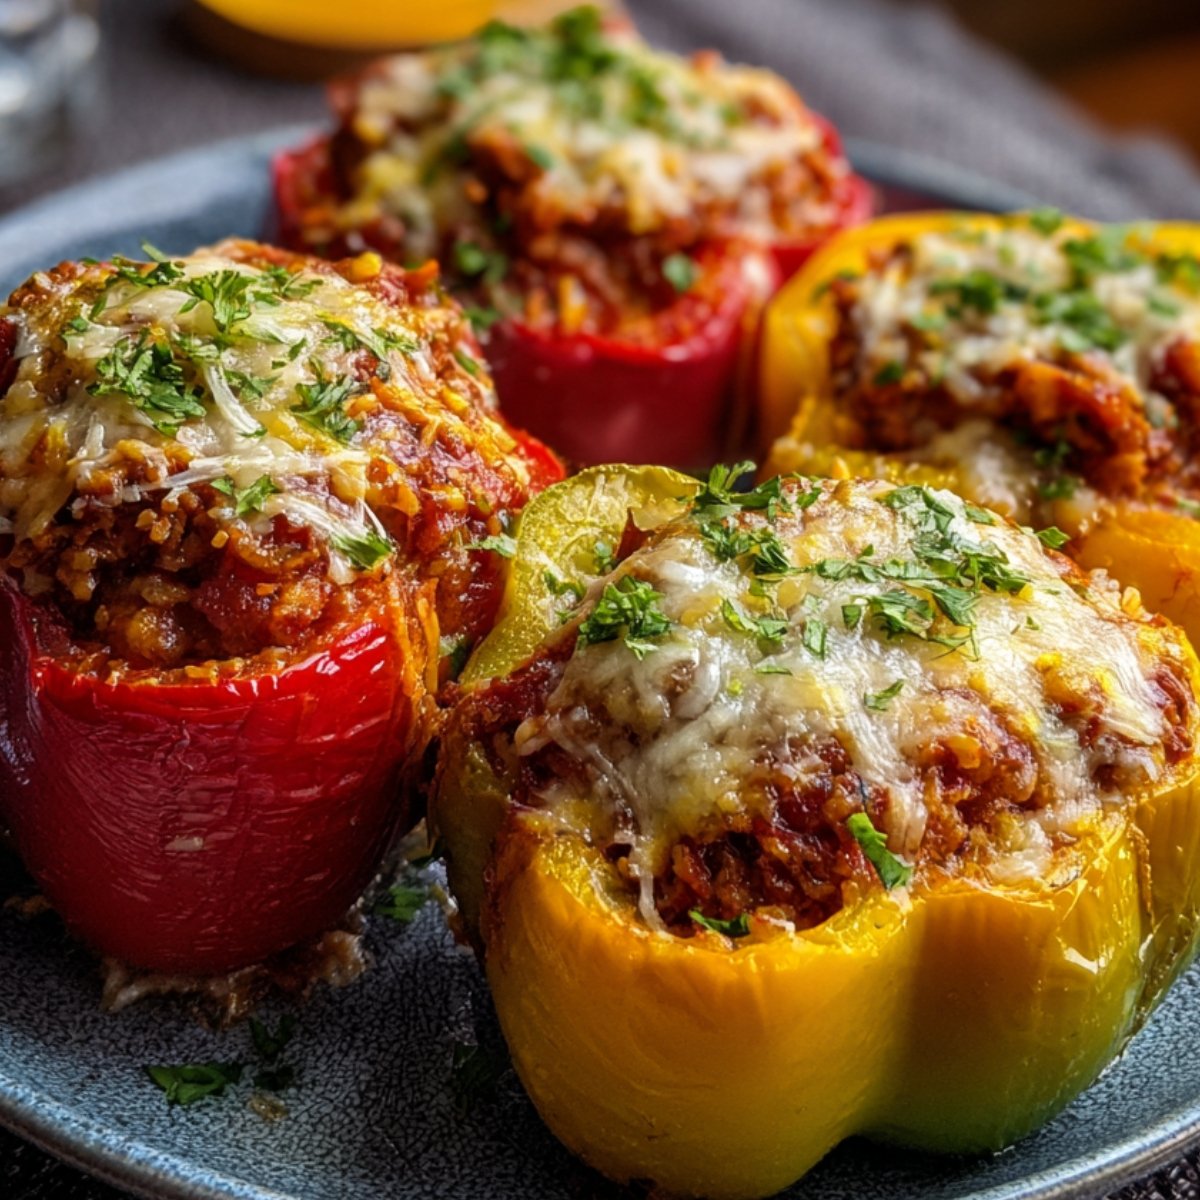
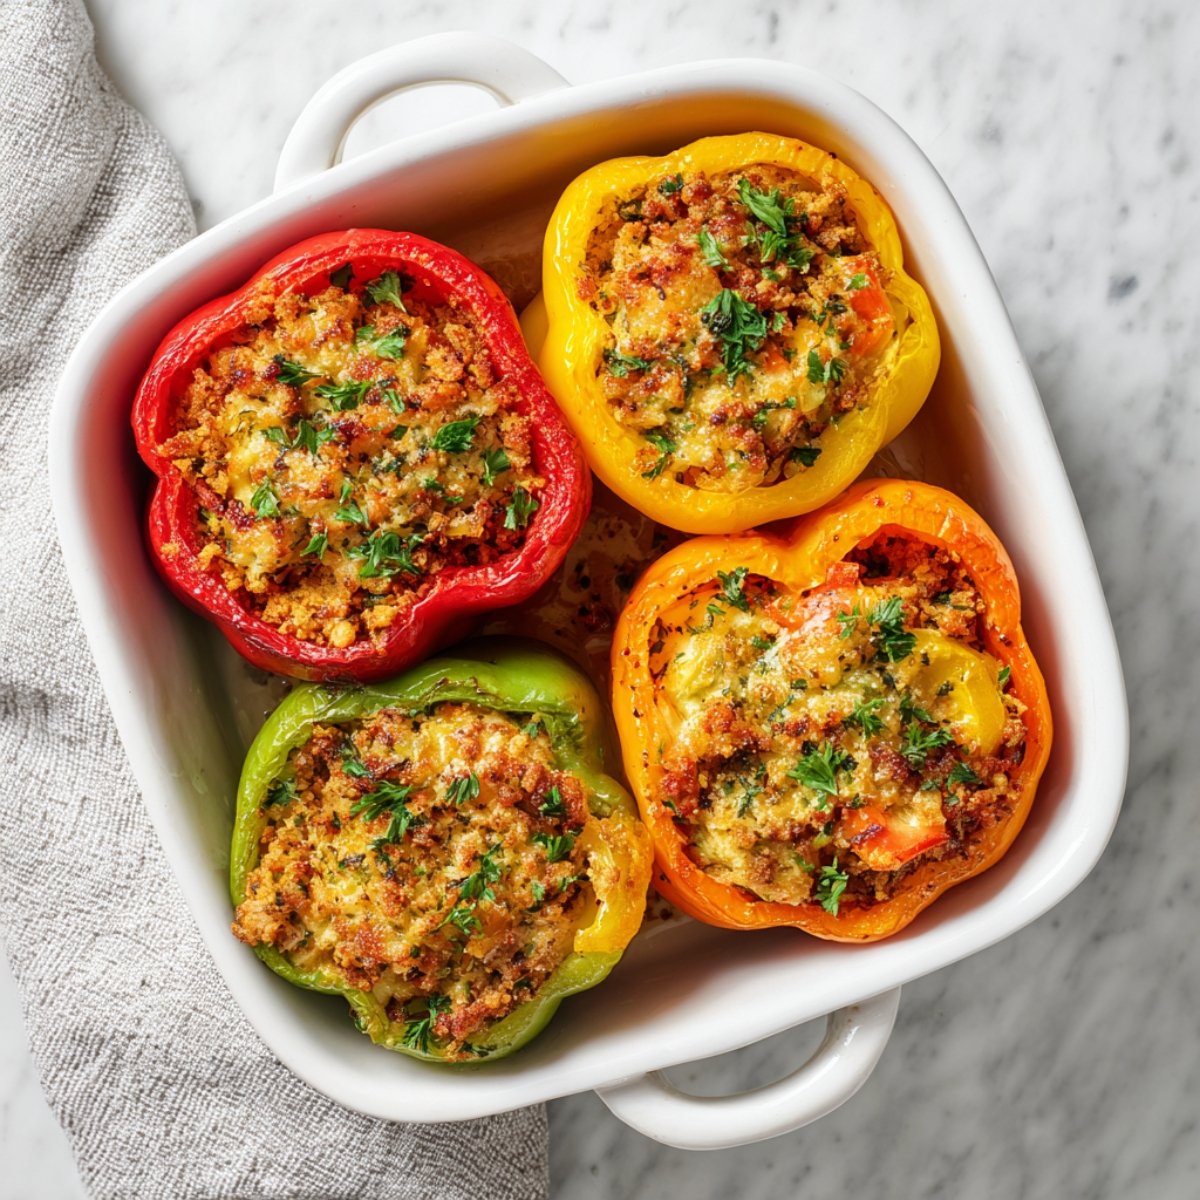
My grandmother's stuffed bell peppers saved our family dinners more times than I can count. Growing up in a house where money was tight but love was abundant, she'd turn a few simple ingredients into something that made us all forget our troubles. This recipe comes straight from her handwritten cookbook, stained with decades of use and perfected through countless Sunday suppers. What makes these different from the bland versions you might remember? The secret is in browning the meat properly and letting the flavors build layer by layer.
Why You'll Love This Classic Stuffed Bell Peppers Recipe
From years of making this recipe for potlucks and family dinners, I know exactly why it never gets old. This stuffed bell peppers recipe works because it's flexible - you can use whatever you have in your fridge. Plus, kids love eating out of their own "pepper bowl," which makes dinner time so much easier. The filling is hearty enough to satisfy the biggest appetites, but the peppers keep it feeling fresh and healthy.
The best part? You can prep everything ahead of time and just pop them in the oven when you get home. I've served these to picky eaters, meat-lovers, and health-conscious friends - everyone always asks for the recipe. Sometimes the simplest ideas really are the best, and this old fashioned stuffed bell peppers recipe proves that comfort food doesn't have to be complicated.
Jump to:
- Why You'll Love This Classic Stuffed Bell Peppers Recipe
- Ingredients for Stuffed Bell Peppers
- How To Make Stuffed Bell Peppers Step By Step
- Equipment For Stuffed Bell Peppers
- Stuffed Bell Peppers Variations
- Smart Swaps for Your Stuffed Bell Peppers
- Storing Your Stuffed Bell Peppers
- Top Tip
- My Aunt's Secret Recipe That Changed Everything
- FAQ
- Time to Make Your Own Family Tradition!
- Related
- Pairing
- Stuffed Bell Peppers
Ingredients for Stuffed Bell Peppers
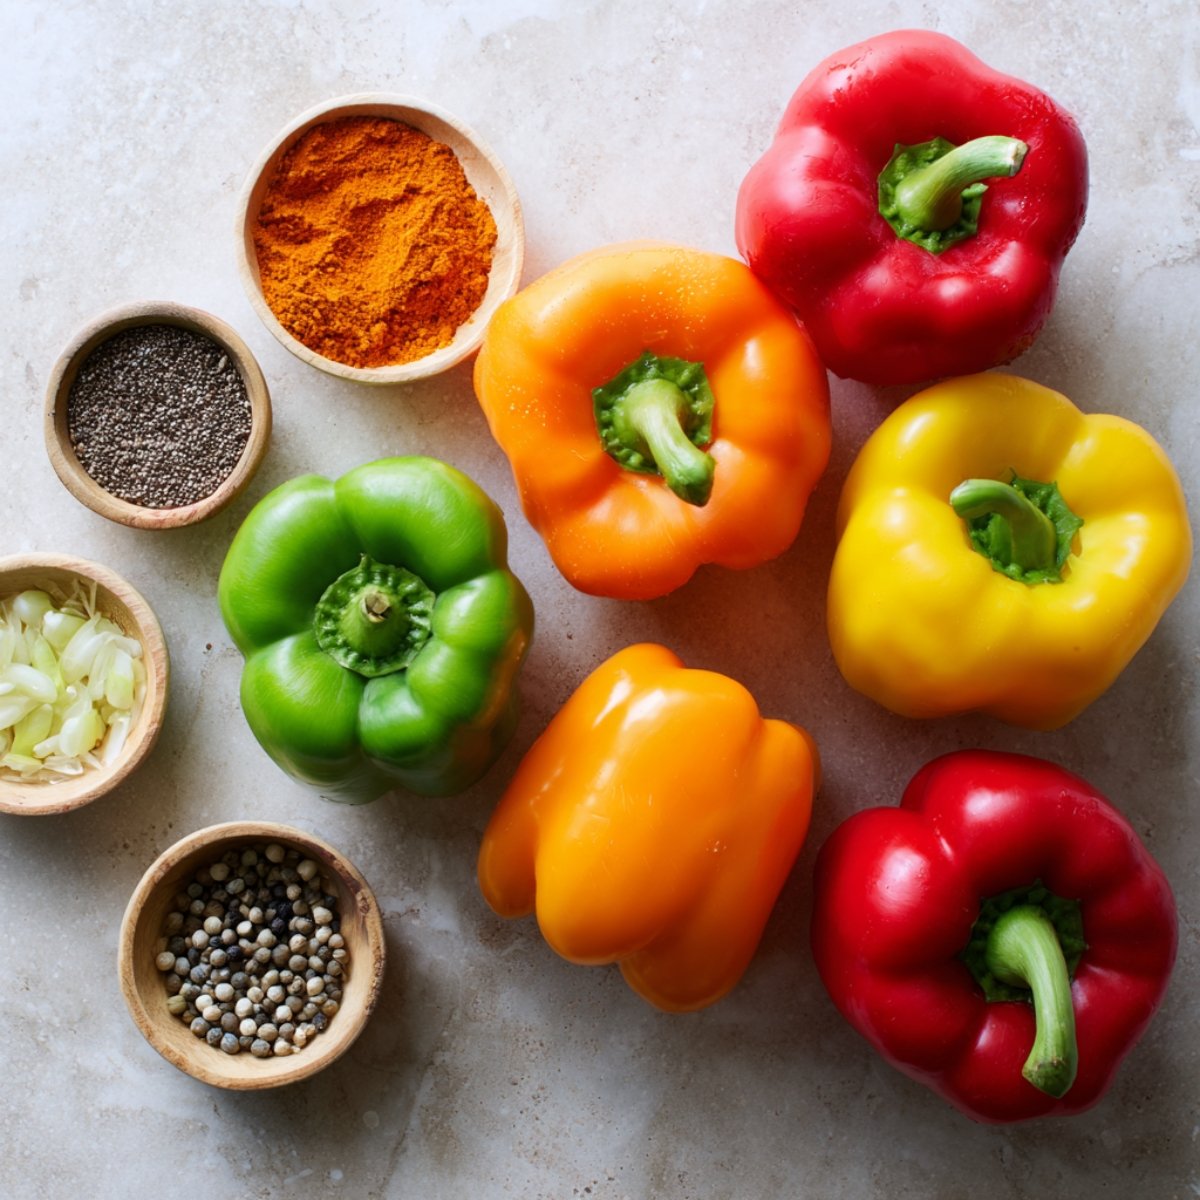
The Peppers:
- Large bell peppers
- Choose ones that stand up straight
- Remove tops and scrape out seeds completely
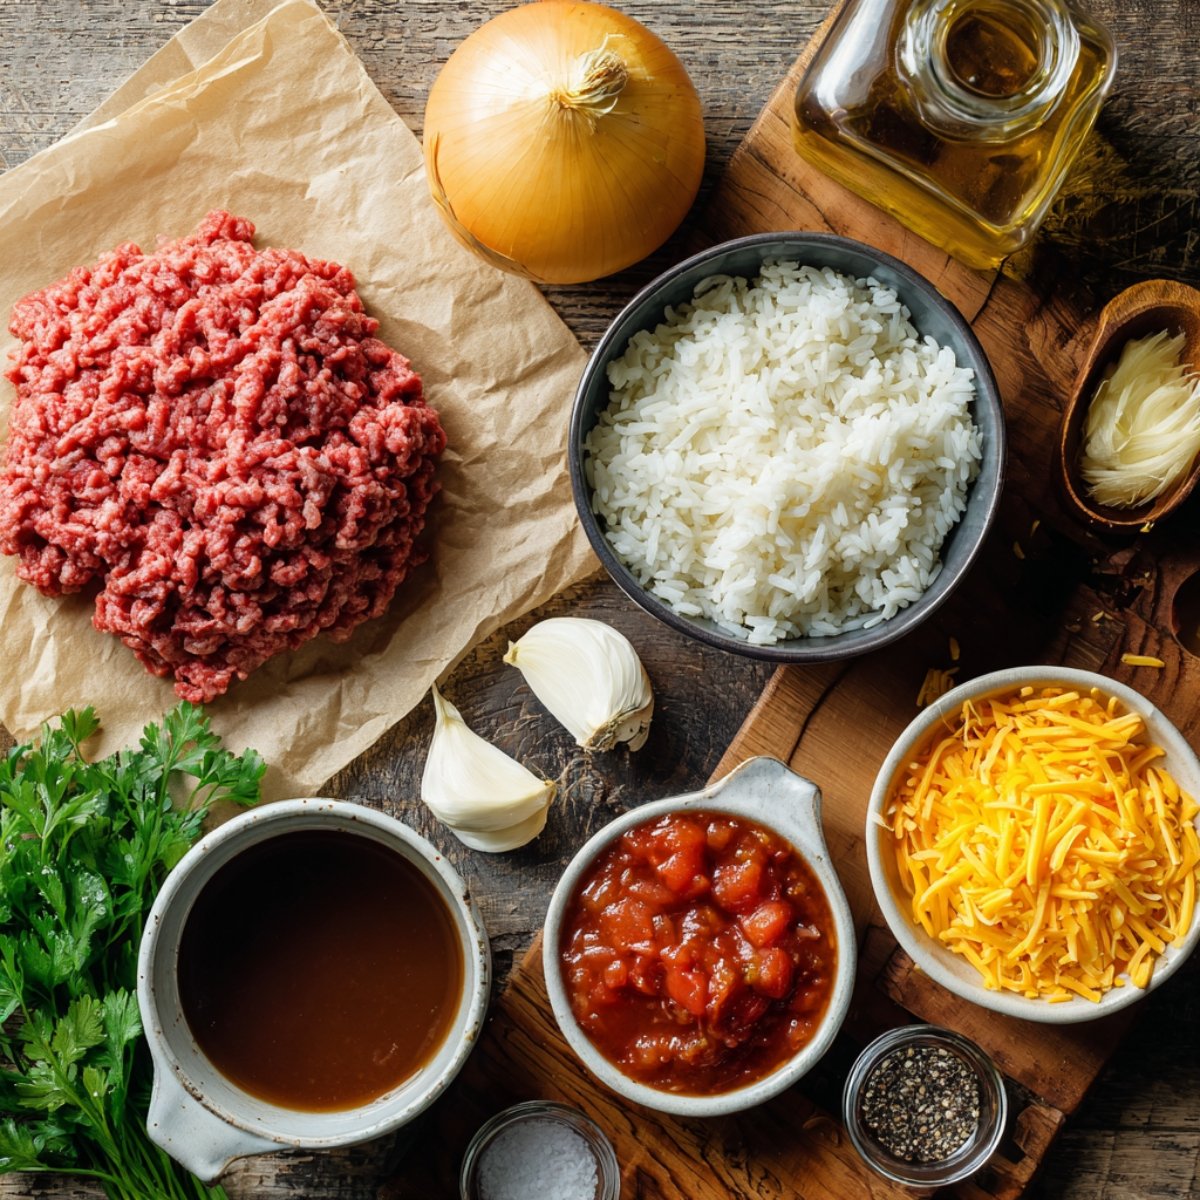
The Filling:
- Ground beef
- Cooked white rice
- Yellow onion
- Garlic cloves
- Diced tomatoes
- Beef broth
- Worcestershire sauce
- Salt and black pepper
The Topping:
- Shredded cheddar cheese
- Fresh parsley for garnish
See recipe card for quantities.
How To Make Stuffed Bell Peppers Step By Step
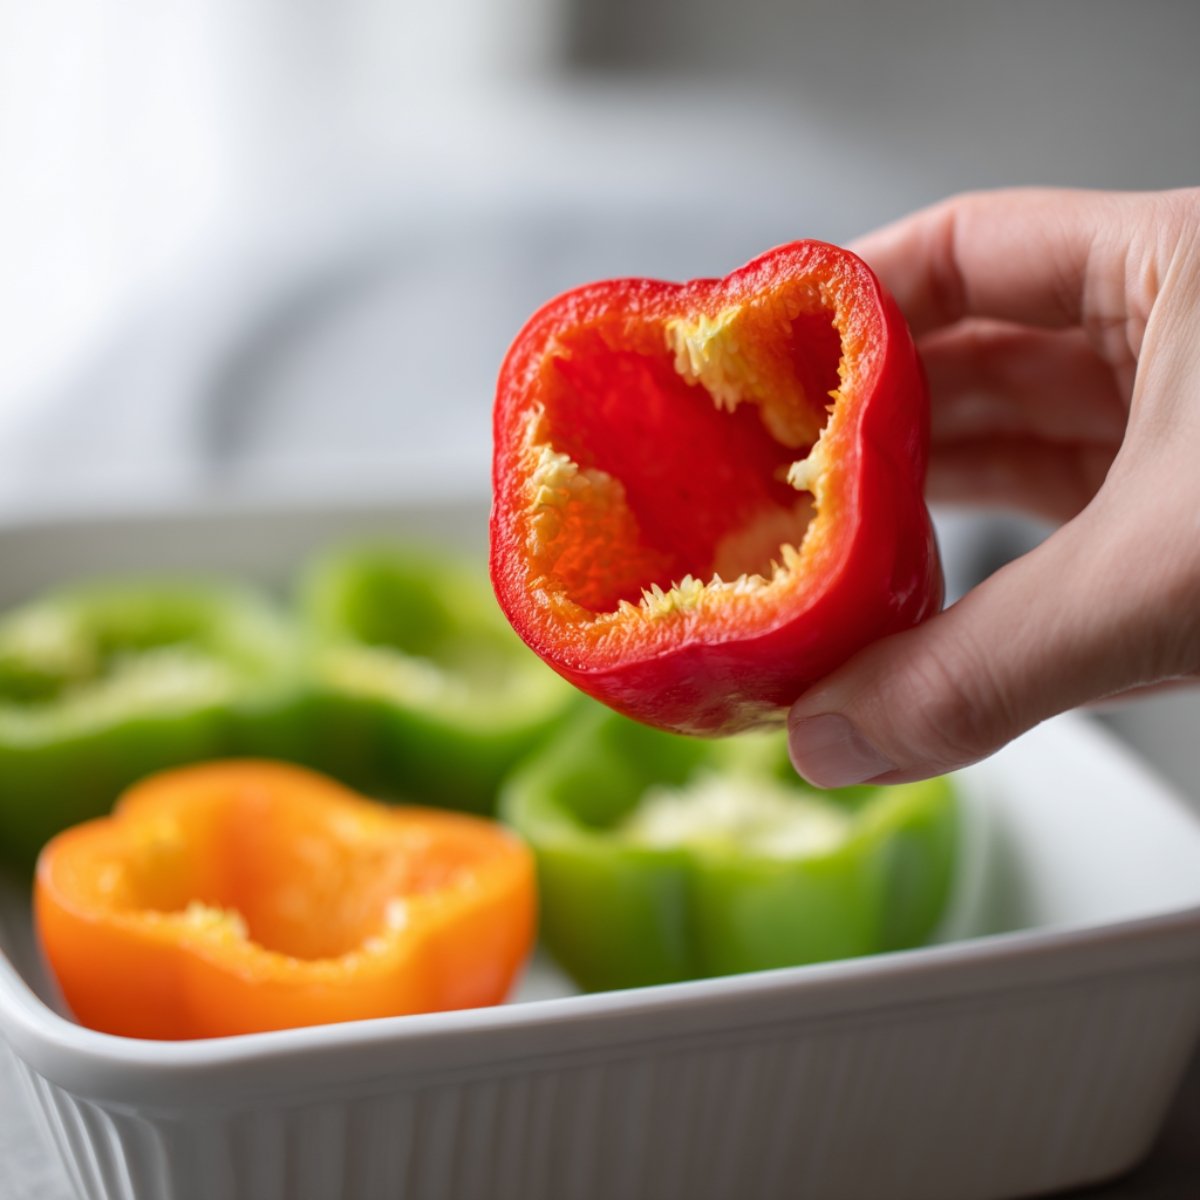
Prep the Peppers:
- Cut tops off peppers and save them
- Remove all seeds and white parts inside
- Trim bottom if needed so they stand straight
- Dice up the tops to use in filling
Make the Filling:
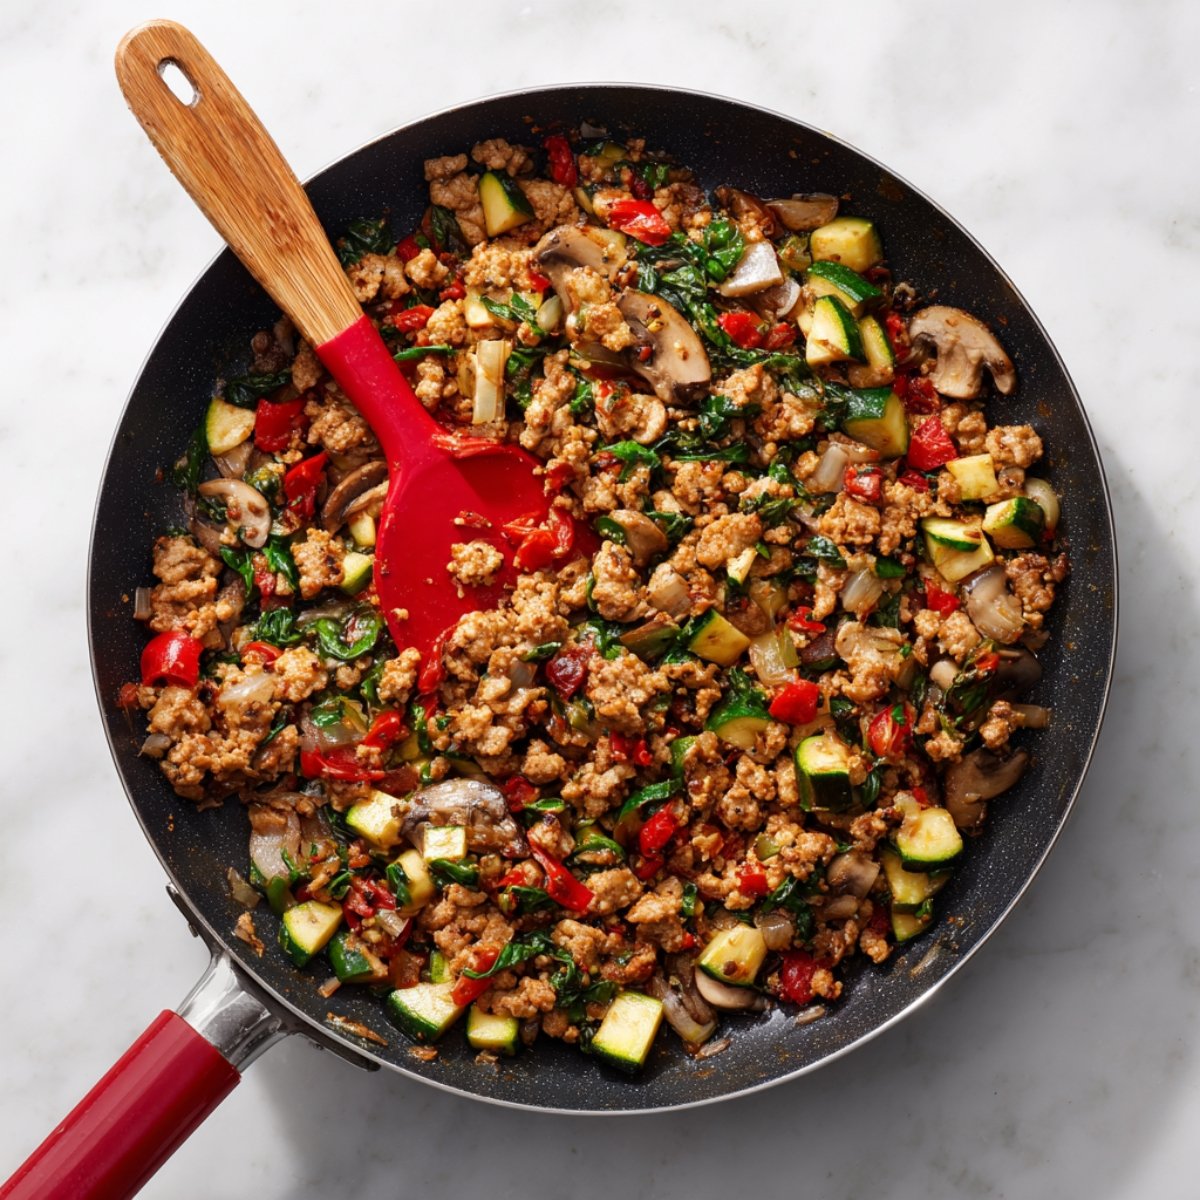
- Brown the ground beef in a large skillet
- Add diced onion and cook until soft
- Stir in garlic for the last minute
- Add diced pepper tops, tomatoes, and seasonings
- Mix in cooked rice and a splash of broth
- Taste and adjust salt and pepper
Stuff and Bake:
- Bake 10 more minutes until cheese melts
- Stand peppers in baking dish
- Fill each pepper with meat mixture
- Add a little water to bottom of dish
- Cover with foil and bake at 375°F for 35 minutes
- Remove foil, add cheese on top
Equipment For Stuffed Bell Peppers
- Large skillet for browning meat
- 9x13 baking dish (glass or ceramic)
- Sharp knife for chopping
- Wooden spoon for stirring
- Aluminum foil
Stuffed Bell Peppers Variations
Mexican Style:
- Add cumin and chili powder to filling
- Mix in black beans with the rice
- Top with pepper jack cheese
- Serve with sour cream and salsa
Italian Version:
- Use Italian sausage instead of ground beef
- Add dried oregano and basil
- Mix in some marinara sauce
- Top with mozzarella and parmesan
Mediterranean Mix:
- Add diced zucchini and olives
- Season with oregano and garlic
- Use feta cheese on top
- Drizzle with olive oil before serving
Hearty Comfort:
- Mix in corn kernels
- Add a packet of onion soup mix
- Use sharp cheddar cheese
- Top with crushed crackers
Kid-Friendly:
- Keep seasonings mild
- Add extra cheese inside and out
- Mix in some ketchup for sweetness
- Cut peppers in half for smaller portions
Smart Swaps for Your Stuffed Bell Peppers
Meat Options:
- Ground turkey → Ground beef (leaner option)
- Ground chicken → Ground beef (lighter taste)
- Italian sausage → Ground beef (more flavor)
- Plant-based meat → Ground beef (vegetarian)
Rice Alternatives:
- Brown rice → White rice (nuttier flavor)
- Cauliflower rice → Regular rice (low-carb)
- Quinoa → Rice (more protein)
- Wild rice → White rice (chewier texture)
Pepper Choices:
- Red or yellow → Green peppers (sweeter)
- Mini peppers → Large peppers (appetizer size)
- Poblano peppers → Bell peppers (mild heat)
Cheese Swaps:
- No cheese → Regular (dairy-free option)
- Mozzarella → Cheddar (melts well)
- Mexican blend → Cheddar (more complex flavor)
Storing Your Stuffed Bell Peppers
Refrigerator (3-4 days):
- Let peppers cool completely first
- Store in covered container
- Reheat in 350°F oven for 15 minutes
- Add a splash of water if they look dry
Freezer (2-3 months):
- Cool completely before freezing
- Wrap each pepper individually in foil
- Label with date
- Thaw overnight in fridge before reheating
Make-Ahead Tips:
- Stuff peppers in the morning
- Keep covered in fridge until dinner
- Add 10 extra minutes to baking time
- Perfect for busy weeknights
Reheating Notes:
- Add fresh cheese on top when reheating
- Microwave works but oven is better
- Cover with damp paper towel if microwaving
- Check that filling is hot all the way through
Top Tip
- The biggest mistake I see people make with stuffed bell peppers is not browning the meat properly. You want to really let that ground beef get golden brown and develop some crispy edges before you add anything else to the pan. Don't stir it around too much - just let it sit and sizzle. Those brown bits are pure flavor, and they make all the difference between bland filling and filling that actually tastes like something.
- Here's what I do: I heat the pan until it's really hot, add the meat, and then leave it alone for at least 3-4 minutes before I even touch it. You'll hear it sizzling and smell that rich, meaty aroma. Only then do I break it up and stir. This one step turns ordinary ground beef into something that tastes like it came from a restaurant. Trust me on this - proper browning is what separates good stuffed peppers from great ones.
My Aunt's Secret Recipe That Changed Everything
My aunt showed me a trick that completely changed how I make stuffed bell peppers. She came over for dinner one night and watched me stuff the peppers the usual way. Then she quietly pulled out a small jar of beef bouillon paste from her purse - yes, she carries seasoning in her purse - and mixed a teaspoon right into the raw filling. "Trust me on this one," she said with that knowing smile she gets when she's about to blow your mind.
The difference was huge. Instead of needing salt and more salt to make the filling taste right, that little bit of bouillon paste gave it this rich, savory depth that made everything else pop. But here's her real genius move: she also brushes the inside of each pepper with a tiny bit of olive oil before stuffing them. The peppers get this beautiful, slightly caramelized flavor and they don't stick to the baking dish. Now I do both tricks every single time, and people always ask what makes my peppers taste so much better than theirs.
FAQ
Do you pre-cook bell peppers before stuffing them?
No, you don't need to pre-cook the peppers before stuffing them with your filling mixture. They'll cook perfectly in the oven while the meat and rice mixture heats through completely. Pre-cooking the peppers often makes them too soft and mushy, and they'll lose their shape and structure when you try to fill them.
What can you stuff bell peppers with?
The classic filling combination is ground beef mixed with cooked rice, diced onions, and canned tomatoes, but you have lots of flexibility here. You can substitute ground turkey, ground chicken, or even create a vegetarian version using black beans, lentils, and extra vegetables.
Do peppers need to be cooked before stuffing?
Raw peppers actually work much better for stuffing than cooked ones. They'll steam and soften naturally during the baking process, becoming perfectly tender without losing their structural integrity. If you cook them beforehand, they often become too soft and won't hold their shape properly when you try to stuff them with your meat and rice mixture.
What temperature should I cook stuffed bell peppers at?
The best temperature for stuffed bell peppers is 375°F, and you'll want to bake them for about 45 minutes total cooking time. Cover them with aluminum foil for the first 35 minutes to create steam that cooks the peppers gently, then remove the foil and add your shredded cheese for the final 10 minutes.
Time to Make Your Own Family Tradition!
Now you have all the secrets to making perfect stuffed bell peppers - from my aunt's bouillon paste trick to the proper meat browning technique. This recipe has been feeding families for generations, and there's something special about gathering around the table with these colorful, hearty peppers that just makes dinner feel more important.
Ready for more comfort food favorites? Try our Delicious Chicken Cordon Bleu Recipe that's easier than you think to make at home. When you want something cozy in a bowl, our Easy Lasagna Soup Recipe has all the flavors of lasagna without all the work. And for your next gathering, our Easy Spinach Artichoke Dip Recipe disappears faster than you can make it!
Share your stuffed pepper success! We love seeing your family dinners!
Rate this recipe and join our cooking community!
Related
Looking for other recipes like this? Try these:


Pairing
These are my favorite dishes to serve with Stuffed Bell Peppers

Stuffed Bell Peppers
Ingredients
Equipment
Method
- Preheat oven to 375°F (190°C). Prep peppers: cut tops, remove seeds/membranes, dice tops, brush insides (optional).

- Sear beef 3–4 min without stirring, then break up and cook through.

- Add onion, then garlic; stir in diced pepper tops, tomatoes, Worcestershire, bouillon, salt, pepper; simmer briefly.
- Off heat, fold in cooked rice and a splash of broth; adjust seasoning.

- Stuff peppers, add water to dish, cover and bake 35 min; uncover, cheese on, bake 8–10 min; rest, garnish, serve.


Leave a Reply